As with all new VPS's log in via SHH
apt-get update && apt-get -y upgrade
Now add the Docker repository to your package manager. The Docker website has OS specific instructions on how to do this. If you want to install it on your local Windows or Mac to experiment with their guide is excellent.
apt-get install apt-transport-https ca-certificates
apt-key adv --keyserver hkp://p80.pool.sks-keyservers.net:80 --recv-keys 58118E89F3A912897C070ADBF76221572C52609D
touch /etc/apt/sources.list.d/docker.list
echo "deb https://apt.dockerproject.org/repo debian-jessie main" >> /etc/apt/sources.list.d/docker.list
apt-get update
apt-get install docker-engine
service docker start
docker run hello-world
https://github.com/blackdoginet/BHost-docker-tutorials/blob/master/install_docker.sh
You should now see Dockers welcome message

This is Dockers self-explanatory introduction which we will no longer need, so let's remove it
#!/bin/bash
# This script clears the terminal, and shows different ways of listing docker containers and images,
# then removes hello-word container and image
clear                                    # clear terminal
docker ps                                  # list active containers
docker ps -a                              # list all containers
docker ps -aq                            # list all containers by their identifiers
docker rm $(docker ps -aq)                # nested docker command to remove/delete all non-active containers
docker images                            # list all images
docker rmi hello-world                    # remove image hello-world
https://github.com/blackdoginet/BHost-docker-tutorials/blob/master/remove_hello-world.sh
Now we are going to download a completely self contained image from Docker Hub. You don't have to create an account just yet as all the repositories we are going to use are public.
docker pull turnkeylinux/sahana-eden-14.0
Sahana Eden is an Emergency Development Environment platform for rapid deployment of humanitarian response management. Its rich feature set can be rapidly customized to adapt to existing processes and integrate with existing systems to provide effective solutions for critical humanitarian needs management either prior to or during a crisis.
This image includes all the standard features in TurnKey Core, and on top of that:
- Sahana Eden configurations:
- Installed from upstream source code to /var/www/sahana-eden
- Serve web2py applications with WSGI on Apache.
- Force admin console to be served via SSL.
- SSL support out of the box.
- Postfix MTA (bound to localhost) to allow sending of email (e.g., password recovery).
- Webmin modules for configuring Apache2, MySQL and Postfix.
The image is quite large so it will take a few minutes to download and un-extract itself, then we are ready to go.
To run this image
docker run -i -t -d --name sahana turnkeylinux/sahana-eden-14.0
Now check that is is running. Note as with all turnkeylinux images this will take a while to initialise itself, as it updates the base operating system and sets a random root password on first load then needs user input for full password control.

To monitor progress of this first boot
docker logs sahana
When its completed
docker inspect --format='{{.NetworkSettings.IPAddress}}' sahana    # displays container IP address
docker logs sahana | grep "Random initial root password"  # displays first boot password
Now ssh into you container using the credentials above
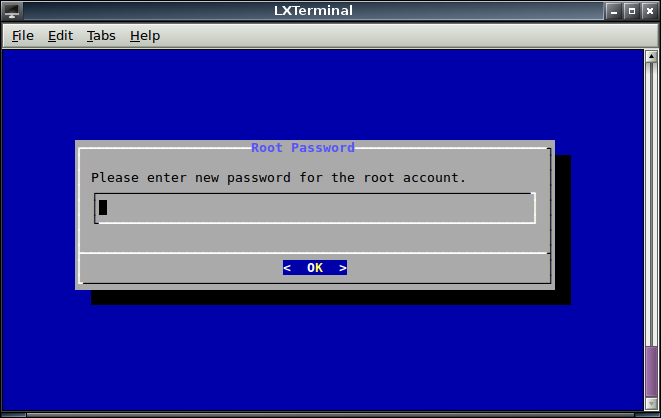
Enter all your passwords.
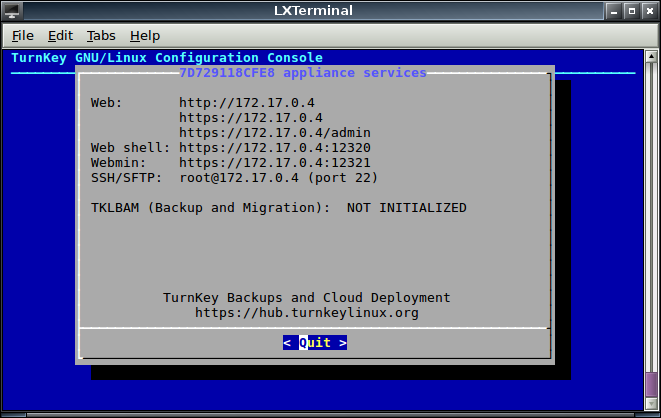
Select Quit from this then whilst still in the containers shell remove all cached downloads from the system update. This will reduce the size of your final image.
apt-get clean
exit
Check the container is working as expected
curl http://<your container ip>
Your screen will show the html of the sites front page
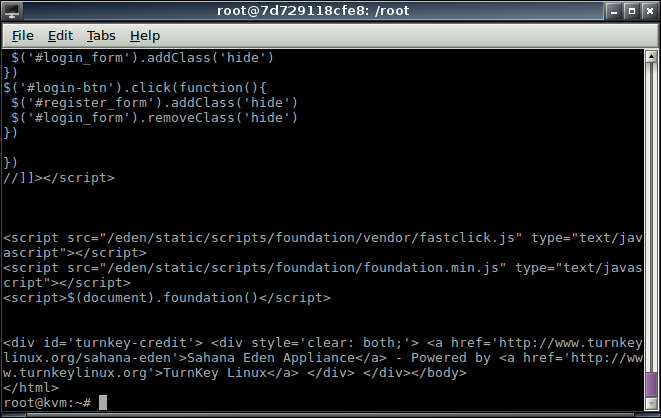
Now we don't want to have to do this each time this container runs so we create a new image with the changes we have made
docker commit sahana <myname>/sahana   # where <myname> is your own namespace
docker stop sahana  # stop the container
docker rm sahana   # remove the containe
docker rmi turnkeylinux/sahana-eden-14.0     # remove the original image
So far we have a new Docker image that will run inside our VPS with the following ports opened internally
- 12320/tcp
- 12321/tcp
- 22/tcp
- 443/tcp
- 80/tcp
In order to enable external access to this image the next time we run it in a container we bind it to a host port with a docker run switch in the form of
-p <any_unused_host_port>:<container_port>
So if you are not running any other services on your VPS e.g. apache just bind -p 80:80 attach it to a spare e.g. 81:80 making the full run command
docker run -i -t -d -p 81:80 --name sahana <myname>/sahana
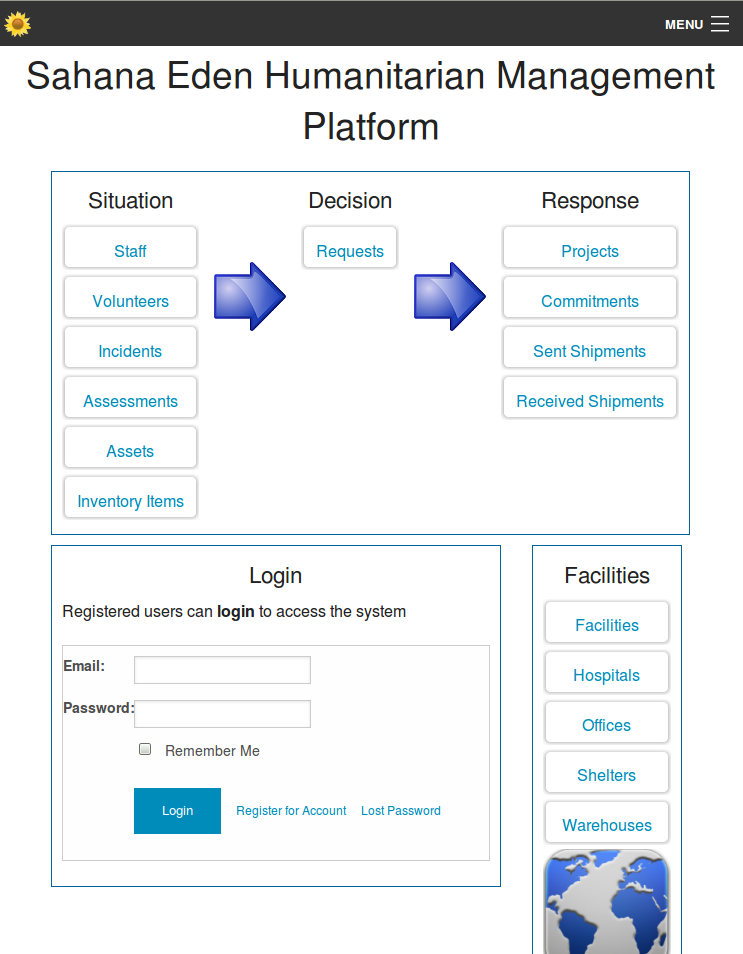
Then visit your new site. With Sahana the first person to register automatically becomes and administrator so you do this immediately then commit the container again to avoid any mistakes/insecurity in the future.
I hope you have enjoyed this quick walk through and have found it useful. In my next article I shall be building my own standalone image.


